Follow these instructions if you are installing Ephesoft Transact 2019.2 or above for the first time.
Prerequisites
Check your system for an existing instance of MariaDB before installing Ephesoft Transact, as some Linux operating systems include MariaDB. Follow this instructions to install MariaDB on Ubuntu.
sudo apt-get install software-properties-common
Next, run the commands below to import MariaDB repository public key used by the package management system:
sudo apt-key adv --recv-keys --keyserver hkp://keyserver.ubuntu.com:80 0xF1656F24C74CD1D8
Run the following command to add an APT repository to your server:
sudo add-apt-repository ‘deb [arch=amd64,arm64,i386,ppc64el] https://sfo1.mirrors.digitalocean.com/mariadb/repo/10.3/ubuntu/ xenial main’
Now that the MariaDB 10.3 repository have been added to Ubuntu, run the guides below to install the current version.
First, run the commands below to update your Ubuntu machines:
sudo apt-get update
Next, run the commands below to install MariaDB server and client:
sudo apt-get install mariadb-server mariadb-client
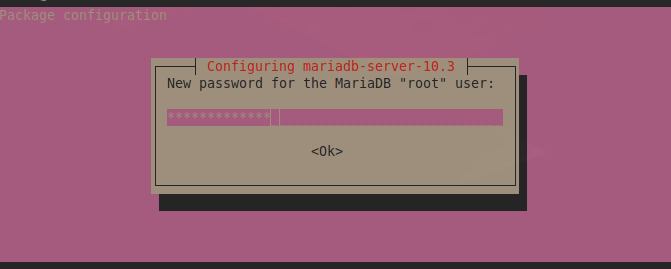
Doing the installation, you may be prompted to to create and confirm a new password for MariaDB root user. Please enter and confirm a password. You’ll need this password to manage the database server:
To secure MariaDB database server, run the commands below:
mysql_secure_installation
Download and Run Ephesoft Transact Installer
- Go to the Downloads page for information on how to obtain Ephesoft Transact Installer.
- After saving the .zip file to your Linux machine, verify the MD5 Sum on the file against the MD5 Sum listed in the Partner Portal.
md5sum ./LINUX_Ephesoft_Transact_2020.1_1316.zip
- Unzip the Ephesoft Transact installer by executing the following command:
unzip LINUX_Ephesoft_Transact_2020.1_1316.zip
- Run the following command to make the files executable:
chmod 777 install install-helper uninstall
- Run the following command to start the installation process:
./install
- You will be prompted to decide if you want to install Ephesoft Transact as a silent installer. In this example we are going to install the normal Ephesoft Transact.
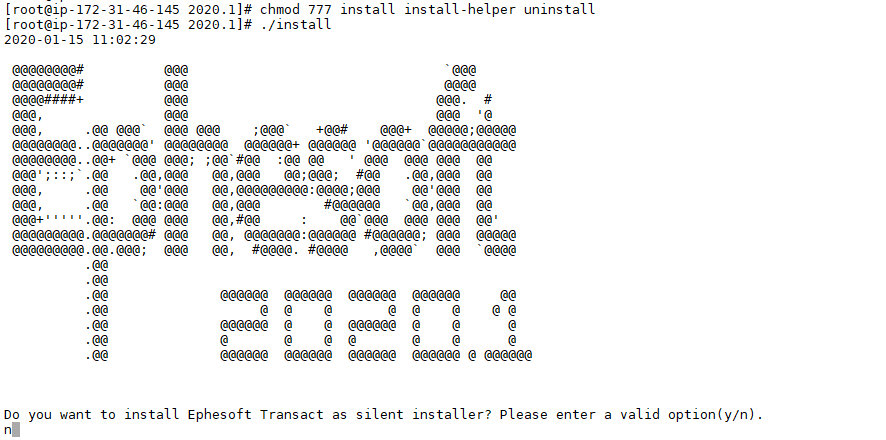
- Press n to install the normal Ephesoft Transact.
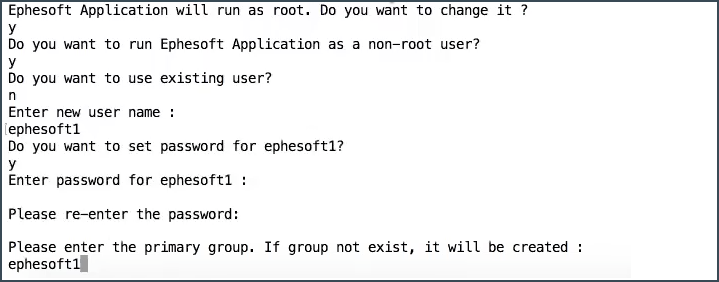
- You will be prompted to decide whether to run Ephesoft Transact as either root or non-root user. Press n for any option to proceed as a root user.
- Input the path for the target installation directory. The default option is /opt. Ephesoft recommends keeping the default directory, but you can change the directory by editing the text line if needed.

Create SharedFolders
- You will be prompted to choose whether you want to use an existing SharedFolders. It depends if you are installing it on a single or on a multi-server environment:
- Press n if you are installing on a single-server environment, or if you are installing the first server in a multi-server environment.
- Press y if you are installing the second or subsequent server in multi-server environment.

You will be prompted to specify where to install SharedFolders. The recommended option is the default /opt/Ephesoft. Select n to keep the default /opt/Ephesoft option.

Select and Set Up the Database
You will be prompted to select the database type you want to use. Choose the Database that we created above.
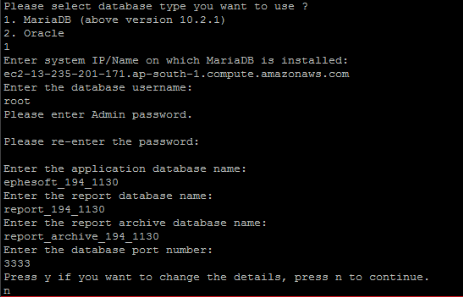
- Select MariaDB by typing 1 and pressing the Enter key.
- Provide the required details, as explained in the table below.
| Maria DB property | Description |
| system IP | The hostname/IP address on which MariaDB is installed. |
| database username | Enter root. |
| Admin password | Password that will be used to log in as a database administrator. You will receive a warning if the password is less than the recommended length and complexity. |
| application database name | Default database name is Ephesoft. This name can be changed as needed. |
| report database name | Default report name is report. This name can be changed as needed. |
| report archive database name | Default report name is report_archive. This name can be changed as needed. |
| database port number | Default port number is 3306. This is the port that will be used to access the database. |
- Press y to change any details. Otherwise, press n to continue. Congrats you now configured the database.
Configure Authentication Mode
You will see in front of you the following display:

- Press 1 for Standard Form Authentication. This is the default option.
- Press 2 for PKI Authentication, and follow the steps listed in Configure PKI Authentication on Linux.
The following text displays:

- Press 1 for HTTP
- Press 2 for HTTPS, and follow the steps listed in Form Authentication with HTTPS on Linux.
The following text displays:

- The default port number will display (8080 for HTTP).
- You will be prompted to change any details. Press y if any changes are needed. Otherwise, press n to continue.
Install Applications
You will be prompted to install Tesseract (an OCR engine).
- Press n to decline installing Tesseract.
- Press y to install Tesseract.
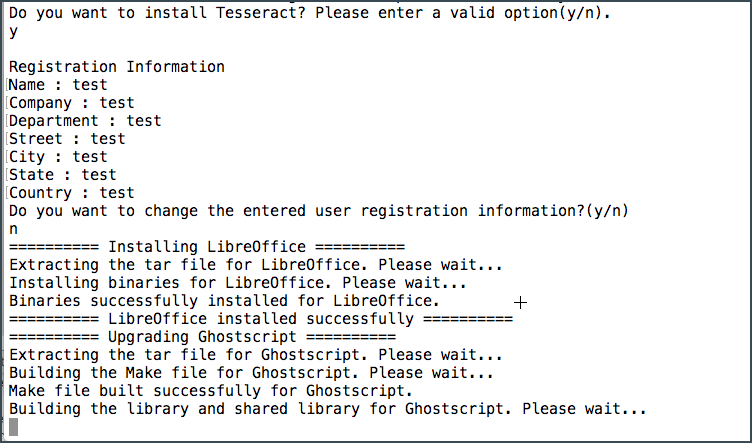
It will take a few minutes to install all the application. So in this time you can grab a cup of tea 😉